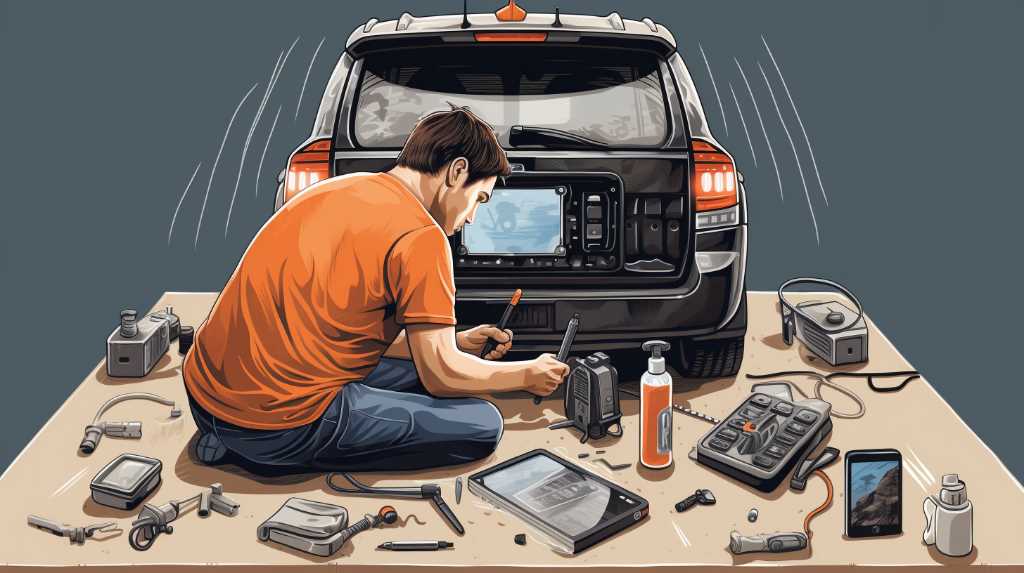
You’ve decided to enhance your driving experience, improve your safety, and boost your vehicle’s value. Now, you’re ready to install a DIY backup camera, but might not know where to start. This step-by-step guide is tailored just for you, walking you through every phase of the setup. You’ll learn how to prepare your vehicle, pick the right camera for your needs, and gather the necessary tools for installation. Wiring may seem daunting, but with our clear instructions, you’ll tackle it with confidence. We’ll also guide you through camera mounting, ensuring it’s secure and positioned correctly. Finally, we’ll cover system calibration and offer maintenance tips to keep your new backup camera functioning at its best. Let’s turn your DIY ambitions into reality, and give you the peace of mind that comes with a job well done.
Key Takeaways
- Clear and clean the rear area before mounting the camera
- Consider the resolution and night vision capabilities of the camera
- Choose between wired or wireless backup cameras based on reliability and convenience
- Properly install and calibrate the camera for optimal functionality and safety
Preparing Your Vehicle
Before you begin the installation, ensure your vehicle’s cleanliness is adequate by clearing the rear area and cleaning the surface where the camera will be mounted. This step is crucial because any dirt or debris can interfere with the adhesion and functionality of your new backup camera. You’ll want to use a high-quality cleaner that won’t leave any residue. After cleaning, give it enough time to dry completely.
Next, you’ve got to find the best spot for the camera. Generally, it’s right above the license plate, but you should check your camera’s viewing angle to ensure it gives you the best possible view. Once you’ve settled on the location, it’s time to measure. Use a tape measure to center the camera and mark the spot where you’ll attach it. If your camera requires drilling, be certain you won’t hit any internal components. If it’s a no-drill model, then you’re ready to move forward without the extra hassle.
Lastly, gather all the tools and components you’ll need for the installation. You don’t want to be halfway through and realize you’re missing something critical. Double-check that everything is on hand, and you’ll be set to start installing your backup camera.
Choosing Your Camera
Now you’re at the pivotal step of selecting the right backup camera for your vehicle. You’ll need to weigh the clarity of camera resolution against your budget and consider the pros and cons of wired versus wireless setups. Making the right choice here is crucial for a seamless and effective installation.
Camera Resolution Quality
When selecting your backup camera, it’s crucial to consider the resolution quality, as a higher number of pixels will provide a clearer image for safer reversing. You’ll come across options like standard definition (SD) and high definition (HD), with HD cameras usually offering 720p or 1080p resolution. While it may be tempting to go for the highest resolution available, remember that it should match your display’s capability. There’s no point in choosing a 1080p camera if your monitor can only handle 720p.
Also, consider the environment you’ll often be reversing in. If you’re frequently in low-light situations, look for a camera with good night vision capabilities. A balance between resolution and other features will ensure you get the best value for your investment.
Wired Vs. Wireless
After considering resolution quality, you’ll need to decide between a wired or wireless backup camera for your setup. Wired cameras offer a more reliable connection, ensuring consistent image quality without interference. You’ll have a direct link from the camera to your display, but installation can be more complex, involving running cables through your vehicle.
On the other hand, wireless cameras provide convenience and a cleaner install, as there’s no need to thread cables. However, they can be susceptible to signal interference from other wireless devices, which might affect the video feed’s consistency. Consider the environment where you’ll use the camera, your comfort with installation, and prioritize reliability or convenience to make the best choice for your DIY backup camera setup.
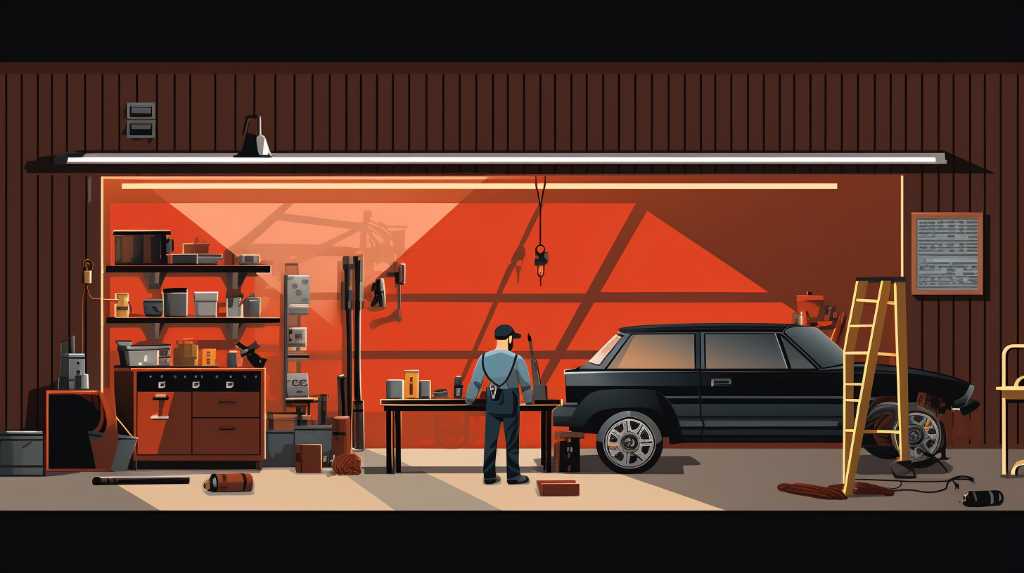
Gathering Installation Tools
Before you embark on your DIY backup camera installation, you’ll need to assemble a set of specific tools to ensure a smooth process. Essential to your toolkit is a drill with various drill bits, as you may need to create a small opening for the camera. You’ll also want a set of screwdrivers, both flathead and Phillips, for securing components and adjusting connections.
Next, have a wire stripper and crimping tool on hand for handling the wiring. These are vital for ensuring secure electrical connections. Don’t forget a multimeter; it’s indispensable for testing the electrical connections to prevent any mishaps.
It’s also smart to include a set of wrenches or a socket set for any nuts and bolts you might encounter. Since you’re likely working in tight spaces, a set of pliers can be very helpful, particularly needle-nose pliers for those hard-to-reach areas.
Lastly, grab some electrical tape and cable ties. The tape will insulate any exposed wiring, while the cable ties will help you neatly secure the cables, preventing damage and maintaining a clean look. With these tools ready, you’re all set to tackle the installation.
Wiring Setup
With your tools at the ready, let’s dive into the wiring setup for your DIY backup camera, ensuring you connect each component correctly for a reliable system. You’ll start by identifying the power and video cables from your camera. The power cable usually splits into a red and a black wire: red for positive and black for ground. Connect the red wire to your car’s reverse light power wire, which will signal the camera to activate when you shift into reverse. Attach the black wire to a metal ground point on your vehicle’s frame for a solid connection.
Next, route the video cable from the camera to the display monitor in the front of your car. You may need to remove some interior panels or use cable clips to secure the wire and prevent it from hanging loose. If your system has an RCA video connector, it’ll plug directly into the corresponding port on the monitor.
Lastly, ensure your monitor’s power is wired correctly. It often connects to an accessory power source in the fuse box, which only becomes live when the ignition is on. This setup prevents battery drain when the car’s off. Double-check all connections for security and insulation before testing your system.
Camera Mounting
Now that you’ve got your wires in check, it’s time to tackle mounting your backup camera to your vehicle’s rear. You’ll want to choose a spot that gives you a clear view of what’s behind you without the camera sticking out like a sore thumb. Most folks opt for right above the license plate, as it’s usually prepped for an accessory like this.
Ensure the mounting area is clean before you start. You don’t want dirt messing with the adhesive or screws. If your camera comes with a template for drilling holes, tape it in place and use a drill to make any necessary openings. Be careful not to drill too deep and damage any vehicle parts.
Next, thread the camera’s wires through the hole you’ve made, taking care not to snag them on any sharp edges. Attach your camera to the mounting spot using the provided screws or adhesive pad. If it’s screwed in, don’t overtighten—just snug enough to keep it from moving around.

System Calibration and Maintenance
Now that you’ve installed your backup camera, it’s crucial to ensure it’s properly calibrated for accurate use. You’ll need to establish a regular maintenance routine to keep the system functioning smoothly. If you encounter any hiccups, knowing how to troubleshoot common issues will save you time and frustration.
Calibration Best Practices
Once you’ve installed your DIY backup camera, the next critical step is to calibrate the system to ensure accurate and reliable operation. Start by parking your vehicle on level ground and ensure there’s a clear view behind. Adjust the camera angle to capture the bumper’s edge for a reference point, ensuring you’ve got a full view of the area you’ll reverse into.
Consult your camera’s manual for specific calibration settings. Some systems offer on-screen guidelines which you should align with actual distances. Test these by placing markers at measured intervals behind your car and adjust until the on-screen guides match reality. Regularly check the calibration, especially after any physical adjustments or impacts. Proper maintenance guarantees the camera’s guidance remains trustworthy and keeps you safe.
Regular Maintenance Schedule
To keep your backup camera functioning optimally, you’ll need to establish a routine maintenance schedule that includes regular system checks and calibration. Every month, take a moment to inspect the camera lens for dirt, debris, or damage. A clean lens ensures clear visibility, so wipe it gently with a soft cloth if it’s dirty. You should also check the wiring and connections for any signs of wear or corrosion, which could affect performance.
Twice a year, recalibrate the camera to account for any shifts that might have occurred due to vibrations or temperature changes. This helps maintain accurate distance readings and the correct angle of view. By staying diligent with these maintenance tasks, you’ll extend the life of your backup camera and keep it reliable.
Troubleshooting Common Issues
If you’ve run into hiccups with your DIY backup camera, it’s crucial to pinpoint the issue and tackle the problem head-on. Start by checking all connections; loose wiring can often cause intermittent problems. Ensure the power source is consistent and the camera is properly grounded.
If the image is fuzzy or misaligned, recalibrate the system. Consult the manual for specific calibration steps, as this varies by model. Clean the lens gently with a soft cloth to remove dirt or smudges that could blur the picture.
Frequently Asked Questions
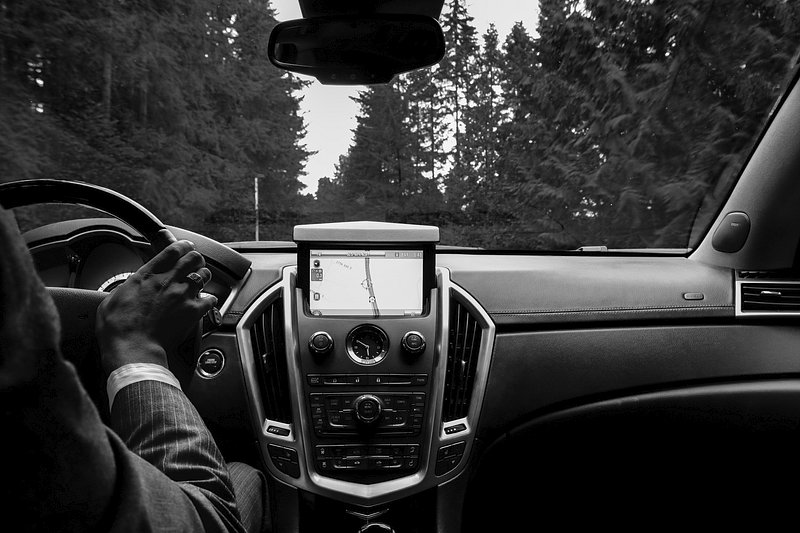
Can I Integrate a DIY Backup Camera System With My Vehicle’s Existing Infotainment or Navigation Screen?
Yes, you can integrate a DIY backup camera with your car’s infotainment or navigation screen, but you’ll need a compatible interface and may require professional assistance for complex wiring and configuration.
How Do I Troubleshoot a Backup Camera That Is Not Turning on or Is Displaying a Blank Screen After Installation?
First, check your camera’s power connections and ensure it’s properly grounded. If that’s fine, inspect the video cable for damage and verify that the camera’s settings are correctly configured on your display.
Are There Legal Considerations or Restrictions I Should Be Aware of When Installing a Backup Camera on My Vehicle?
You should check local laws regarding vehicle modifications, as there may be restrictions on camera placement or the type of camera you can use to ensure your backup camera is legally compliant.
How Can I Ensure the Backup Camera Is Securely Waterproofed to Prevent Damage From Rain or Car Washing?
To waterproof your backup camera, seal all connections with silicone and use a water-resistant housing. Ensure it’s tightly installed with no exposed wiring that could be susceptible to water damage.
What Steps Should I Take to Protect the Wiring and Components of the Backup Camera System From Potential Theft or Vandalism?
To protect your backup camera from theft or vandalism, discreetly route the wiring, secure the camera within the housing, and consider adding a security screw or tamper-proof mounts for extra safety.
Conclusion
You’ve done it! With your vehicle prepped, the perfect camera chosen, and all the necessary tools at hand, you’ve successfully wired and mounted your DIY backup camera. Now, after calibrating the system, you can reverse with confidence. Remember to regularly check your setup to ensure everything stays in tip-top shape. Embrace the satisfaction of enhancing your car’s safety features by yourself. Drive safely and enjoy the clear view your new backup camera provides!
Related Articles
Be sure to also check out these articles right here at Motion Performance Motorsports
The Complete Buyers Guide for Backup Cameras
Next Backup Camera Article: Top Rated Reverse Parking Tech Reviewed
Previous backup Camera Article: Master Your Ride: Top Dual Cam Backup System Tricks

Hey there, I’m Terra Frank, the driving force behind Motion Performance Motor Sports. I’m thrilled to have you here, exploring the fascinating world of cars, trucks, and everything related to automotive performance and accessories.