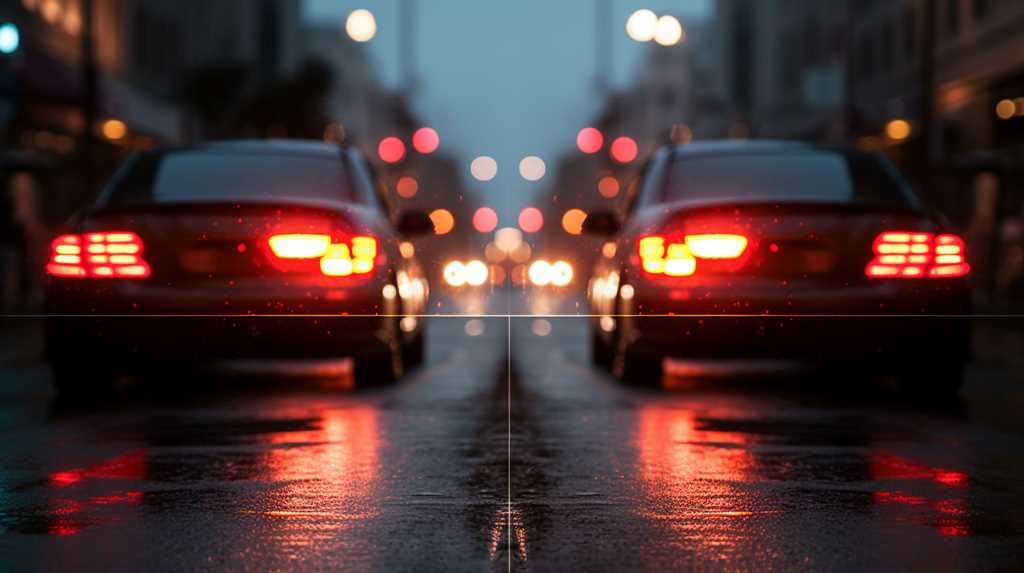
Just as you’re about to reverse into a tight spot, you notice the guide lines on your reverse camera. These on-screen markers are your best friends for parking with precision. They show you where your car’s edges line up, helping you squeeze into those tricky spaces without a scratch.
To use them effectively, align the center line with your intended path and use the colored markers to gauge distance from objects behind you. As you back up, steer so that the guide lines remain parallel to the parking space boundaries. With a bit of practice, you’ll be maneuvering around obstacles and perfecting your parallel parking in no time.
Remember, these lines adjust as you turn the wheel, giving you real-time feedback to adapt your approach for different vehicles and parking scenarios.
Key Takeaways
- Reverse camera lines serve as guides for distance and trajectory when backing up.
- The red line indicates the ‘no-go’ zone, about a foot from the bumper.
- The yellow lines mark a buffer zone, one to two feet away.
- The green lines indicate more room, typically three feet or more.
Understanding Reverse Camera Lines
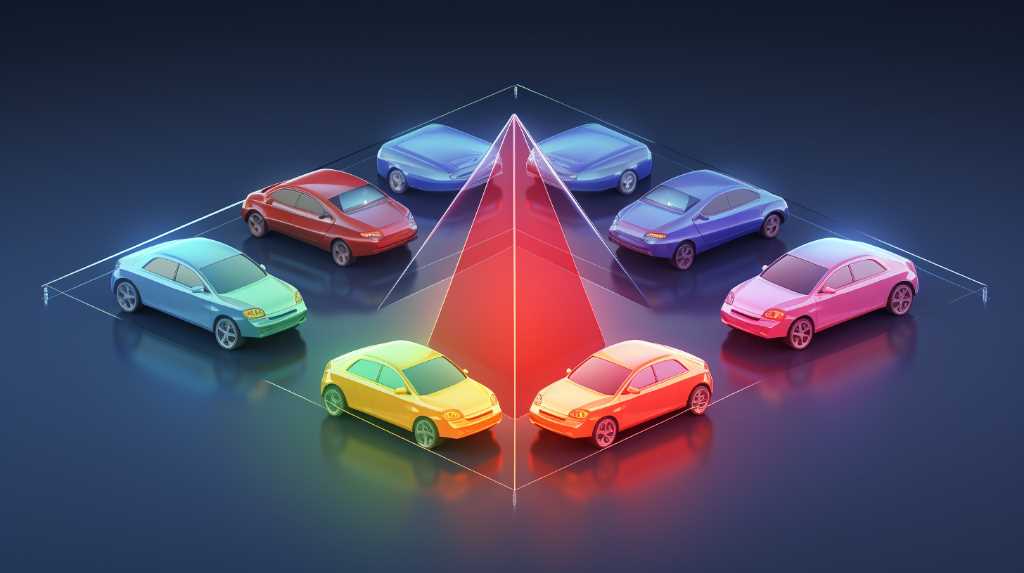
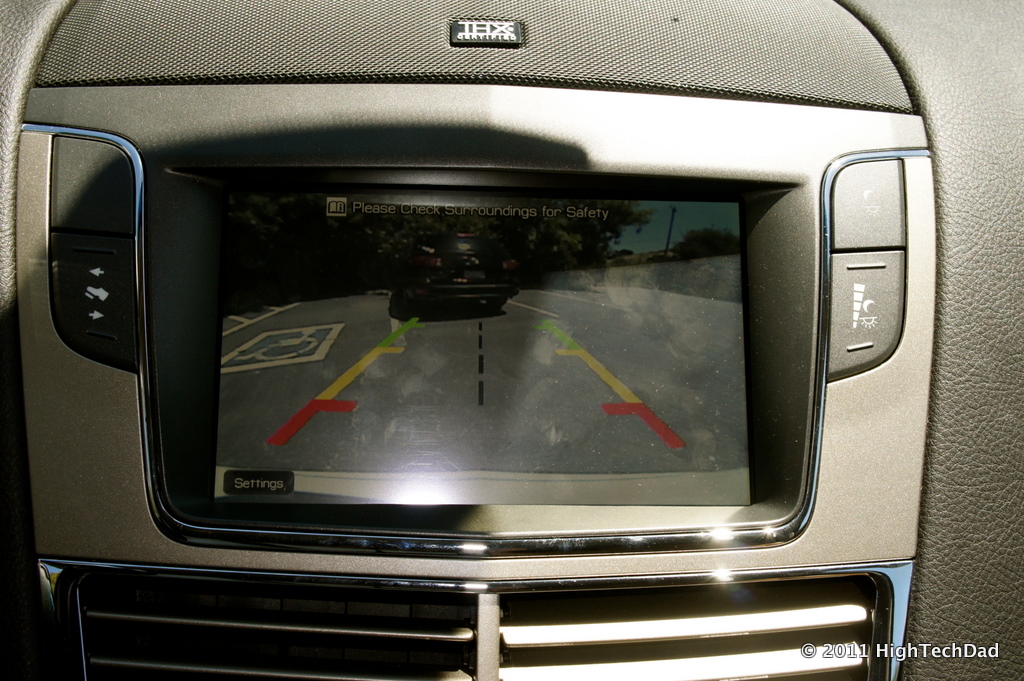
Every reverse camera features colored lines on the display that serve as your guide for distance and trajectory when backing up your vehicle. You’ll typically see three colors: red, yellow, and green. They’re not just for show; they’re your key to safe and precise reversing.
The red line represents the “no-go” zone, usually about a foot from your bumper. If an object’s in that zone, you’re too close for comfort. Stop and reassess your surroundings. The yellow lines signal caution, marking one to two feet away. This is your buffer zone. Finally, the green lines indicate you’ve got more room, typically up to three feet or more.
You’ve also got the centerline, that straight line in the middle. It shows where your vehicle’s heading, assuming your wheels are straight. Use it to align with parking spots or to judge your distance from objects directly behind you.
Aligning Your Vehicle Properly
Transitioning from understanding the color-coded guide lines, you’ll now learn how to align your vehicle accurately using your reverse camera. As you begin to reverse, focus on the central line displayed on your screen. This line represents the trajectory of your car. To maintain the correct path, ensure this line aligns with the center of your parking spot or the road behind you.
Next, take note of the horizontal lines. They indicate distances from objects, with the closest line often being a safe distance to stop. You should adjust your steering wheel gradually, keeping an eye on how the guide lines shift in response to your movements. If you’re parking, align the lines with the boundaries of the space.
Remember, the width of the guide lines generally matches the width of your vehicle. Use this to judge the distance between your car and nearby obstacles or vehicles. If the lines are edging too close to something, it’s a cue to correct your alignment by steering away.
Estimating Distances Accurately
You’ve got your vehicle lined up, but how do you know if you’re too close to an object or about to bump into something? That’s where understanding those colored guide lines on your reverse camera comes into play.
They’re your best bet for gauging distance accurately, so let’s get you comfortable with interpreting what they mean.
Understanding Guide Lines
To accurately estimate distances while reversing, it’s essential to understand the colored guide lines displayed on your reverse camera screen. These lines represent different distance intervals from your vehicle. Generally, the colors indicate how close you’re to an object: red signals immediate proximity, often a foot or less; yellow suggests caution, marking a zone a few feet away; and green denotes a safe distance, typically several feet from your bumper.
As you reverse, watch how stationary objects pass through these color zones. This visual cue helps you gauge how much room you have to maneuver. Remember, these lines are guidelines and may vary by vehicle model, so it’s crucial to get familiar with the specific distances they represent in your car.
With practice, you’ll reverse with confidence, knowing exactly how much space you have.
Practice Reversing Maneuvers
Before attempting to park or navigate tight spaces, it’s crucial to practice estimating distances using your reverse camera’s guide lines to enhance your spatial awareness. Start by reversing into a clear area with no obstacles. Notice how objects move in relation to the guide lines as you back up.
You’ll want to get a feel for how far things are when they’re between lines or when they begin to appear. Try placing cones or markers at different distances, and as you reverse, learn to gauge when to stop or turn. Remember, the camera’s perspective can be deceiving—objects in the screen are usually closer than they appear.
With consistent practice, you’ll better judge distances and make reversing maneuvers second nature.
Maneuvering Around Obstacles
When dealing with obstacles behind your vehicle, rely on your reverse camera’s guidelines to gauge distance and navigate safely. These colored lines on the screen aren’t just for show; they’re your best tool for judging how close you’re to objects that you can’t see over your shoulder.
The farthest colored lines typically indicate a safe zone. If an obstacle falls within this area, you’ve got room to back up without worry. As you reverse and the object moves closer to the middle lines, it’s time to slow down and prepare to stop or adjust your path. The nearest lines to your car are your last warning – anything crossing them is too close for comfort.
Now, when you’re actively maneuvering around an obstacle, use the lines to guide your trajectory. Start with small steering adjustments. If you turn the wheel too much, the guidelines curve, showing you the new path your car will take. Use these curves to wrap around the obstacle smoothly.
Perfecting Parallel Parking
Now that you’ve got the hang of maneuvering around obstacles, let’s tackle parallel parking with your reverse camera’s guide lines.
You’ll need to align your car with these lines, accurately estimate the distance from other vehicles, and master your steering technique.
Aligning With Lines
Master parallel parking by aligning your vehicle with the dynamic guide lines on your reverse camera to ensure a perfect fit between parked cars. As you approach a potential space, shift into reverse and trust your camera to kick in. The guide lines will appear, showing your car’s trajectory. Use them to gauge distance from the curb and surrounding vehicles.
Now, while reversing, ensure the lines steer you into the space without clipping the curb or cars. Adjust your wheel as needed, but don’t overcorrect—smooth, minor adjustments are key. As your car slides into place, the lines should match the pavement’s parallel lines. If they do, you’re set. Just straighten your wheel and even out your position.
Voilà! You’ve achieved parking perfection.
Distance Estimation
Understanding how to estimate the distance between your car and the curb using your reverse camera’s guide lines can make parallel parking much easier. When you’re lining up to park, the colored lines on your camera display aren’t just for show. They’re your best friends for gauging how close you’re to the curb and other vehicles.
Typically, the lines represent set distances. The red one often means you’re just a foot or two from an obstacle. Use this as your stopping point to avoid a bump. The yellow line might indicate about three feet of space, giving you enough room to adjust your position. And the green line? That’s your safety zone, indicating you’ve got ample space to maneuver. Trust these signals—they’re your secret weapon for a smooth and precise park job.
Steering Technique
Your steering technique is crucial when using the guide lines on your reverse camera to nail parallel parking. As you start backing up, align the guidelines with the desired parking space. Turn the wheel sharply toward the curb once your rear wheel is level with the car’s bumper you’re parking behind.
Keep an eye on the camera; those lines will show how your trajectory changes with the steering. When your car is at a 45-degree angle to the curb, begin straightening the wheel, easing into the space.
As your front bumper clears the rear of the car in front, turn the wheel the other way to swing the front in. Stop when you’re centered within the lines, ensuring you’re parallel and well-positioned.
Adjusting for Different Vehicles
Often, you’ll need to adjust the guide lines on your reverse camera to accommodate the specific dimensions of different vehicles. If you’re driving a compact car one day and a large SUV the next, the guide lines that worked for the smaller car won’t be as accurate for the larger vehicle. It’s crucial to know how to make these adjustments to ensure you’re reversing safely and effectively.
First, check if your vehicle’s system allows for manual calibration. Some modern cars have this feature built into their infotainment systems. You’ll usually find it under the camera settings. Follow the on-screen prompts to adjust the guide lines. You might need to park in a designated spot or align the vehicle with specific markers to recalibrate the camera correctly.
If your vehicle doesn’t support manual adjustment, you’ll have to rely on your judgment. Become familiar with the width and length of the vehicle you’re driving. Use fixed objects, like parking space lines or curbs, to gauge how the guide lines match up with the vehicle’s actual size. Over time, you’ll get a sense for how the guide lines should look for different types of vehicles.
Frequently Asked Questions
How Can I Maintain and Clean the Camera Lens to Ensure the Guide Lines Are Always Visible and Accurate?
To keep your camera’s lens clean for clear guide lines, gently wipe it with a soft cloth and use lens cleaner. Regular maintenance ensures accuracy and visibility while reversing your vehicle.
Is It Possible to Customize the Color or Style of the Guide Lines on My Reverse Camera Display for Better Visibility?
You can often customize the guide lines’ color or style in your car’s settings for better visibility, but it depends on the model. Check your vehicle’s manual or contact the manufacturer for specifics.
Can the Reverse Camera Guide Lines Be Calibrated to Accommodate Towing Trailers or Attaching Bike Racks to the Vehicle?
Yes, you can calibrate your reverse camera’s guide lines to factor in trailers or bike racks, ensuring you back up safely and accurately with the added length or width.
What Should I Do if the Reverse Camera Guide Lines Are Not Aligning With the Real-World Environment—Is There a Reset or Recalibration Process?
If the guide lines aren’t aligning, you should consult your vehicle’s manual to reset or recalibrate. If that doesn’t work, a professional technician can often resolve the issue with specialized equipment.
How Does Inclement Weather, Like Heavy Rain or Snow, Affect the Visibility and Accuracy of the Reverse Camera Guide Lines, and How Can I Compensate for This?
In bad weather, your reverse camera’s guide lines may be less visible or inaccurate. You’ll need to drive more cautiously and rely more on mirrors and direct vision to compensate.
Conclusion
Now you know how to use those guide lines on your reverse camera. Align your car, estimate distances confidently, and navigate around any obstacles with ease. You’ve got parallel parking down to an art, and you can adjust for different vehicles in no time. Keep practicing, and you’ll be backing up like a pro in no time. Trust those lines—they’re your best pals when reversing into tight spots. Safe driving!
Related Articles
Be sure to also check out these articles right here at Motion Performance Motorsports
The Complete Buyers Guide for Backup Cameras
Next Backup Camera Article: IP Rating As A Requirement When Buying Your Reversing Cameras
Previous backup Camera Article: Backup Cameras: CCD Vs CMOS Sensors

Hey there, I’m Terra Frank, the driving force behind Motion Performance Motor Sports. I’m thrilled to have you here, exploring the fascinating world of cars, trucks, and everything related to automotive performance and accessories.