As they say, it’s never too late to teach an old dog new tricks, and that includes your trusty car. Retrofitting your older vehicle with a backup camera not only brings it up to speed with modern safety features but also gives you peace of mind.
You’ll find it’s not as daunting as you might think. You’ll need to assess your vehicle’s compatibility, choose the right camera system, and decide whether you’re up for a DIY project or if you’d rather leave it to the professionals.
This guide walks you through each step, offering handy tips for installation and maintenance to ensure your upgrade is seamless and effective. So, let’s dive in and give your old ride the new eyes it deserves.
Key Takeaways
- Retrofitting a backup camera enhances safety by reducing blind spots and minimizing the risk of collisions with obstacles, pets, or children.
- Installing a backup camera increases confidence while reversing and provides a clear, wide-angle view that mirrors can’t match.
- When choosing a backup camera system, it is important to assess vehicle compatibility, consider display options and available space on the dashboard, and evaluate skill level for installation.
- While DIY installation is an option, professional installation ensures the job is done correctly the first time, eliminates the need to decipher complex wiring diagrams, and saves time and effort by relying on expert knowledge.
Understanding Backup Camera Benefits
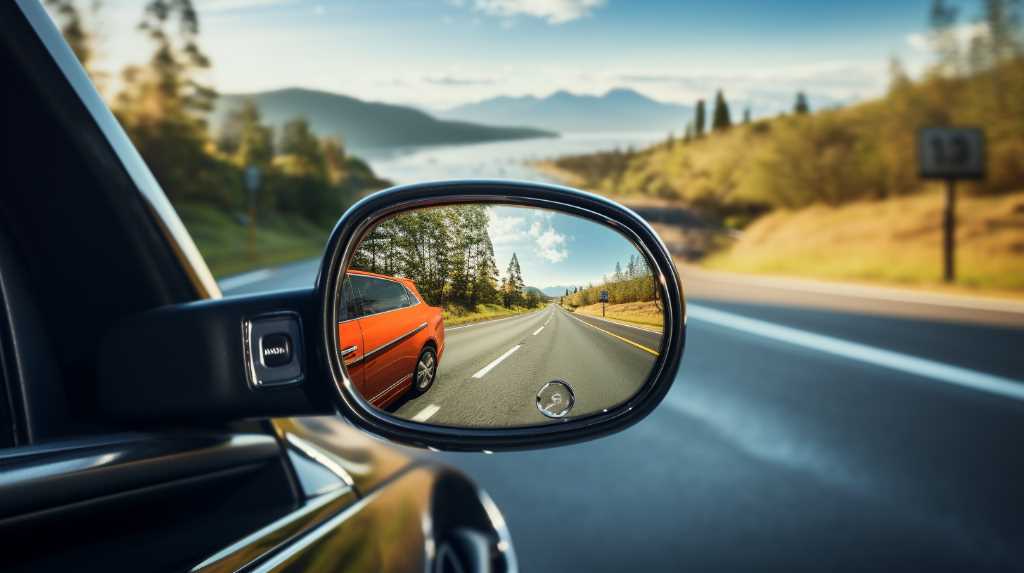
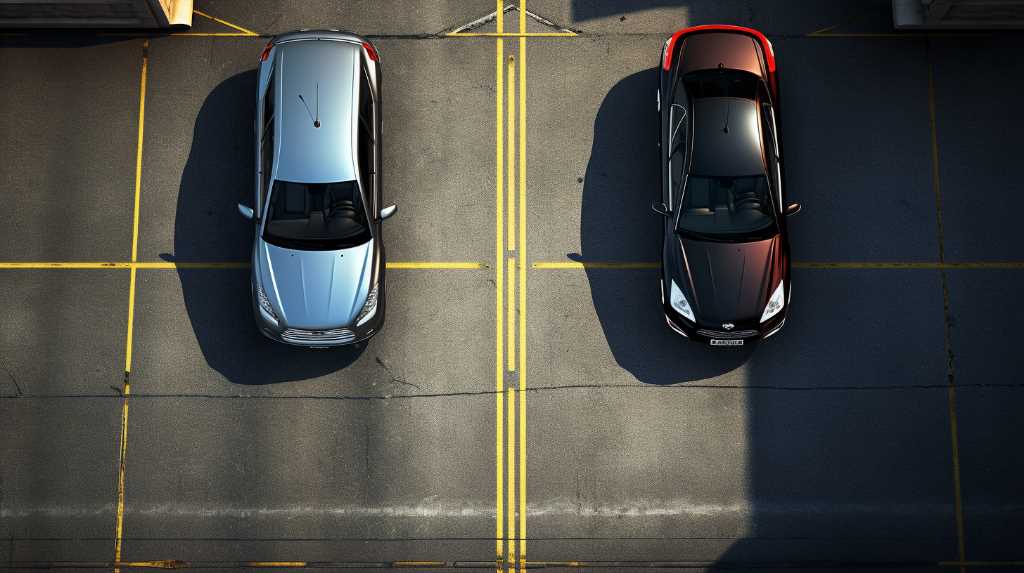
Installing a backup camera offers enhanced safety by significantly reducing your vehicle’s blind spots, allowing you to reverse with greater confidence. You’ll wonder how you ever managed without it. Imagine backing out of a crowded parking lot or your own tight driveway; that little camera becomes your eyes where you can’t see, minimizing the risk of bumping into obstacles, pets, or even children.
With a backup camera, you’re not just guessing what’s behind you. You’ve got a clear, wide-angle view that mirrors can’t match. It’ll change the way you park, especially in those tricky parallel spots. You’ll slide in effortlessly, looking like a parking pro every time.
Not only does it protect those outside of your car, but it also protects your vehicle. You’re less likely to incur scratches, dents, or more serious damage from unseen hazards. And let’s not forget, it could save you a bundle on repair costs.
Moreover, if you decide to sell your car down the line, a backup camera can be a selling point. It’s a small addition that can add significant value, making your older model stand out in a tech-driven market. So, it’s not just about safety; it’s a smart investment too.
Assessing Vehicle Compatibility
Before diving into the installation process, you’ll need to determine if your older vehicle is compatible with a backup camera system. Start by examining your car’s rear layout. You’re looking for a suitable spot to mount the camera that gives a clear, unobstructed view of the area behind your vehicle. Most systems are versatile, but if you’ve got a unique or particularly curvy design, it might pose a challenge.
Next, consider the power source. Backup cameras typically tap into the wiring of your reverse lights to activate when you shift into reverse. You’ll want to ensure that these lights are easily accessible and functioning properly. If you’re not comfortable with basic electrical work, it might be wise to seek professional assistance for this step.
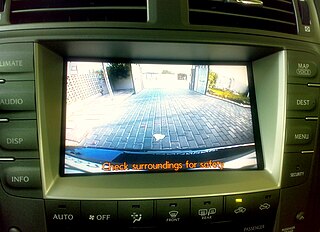
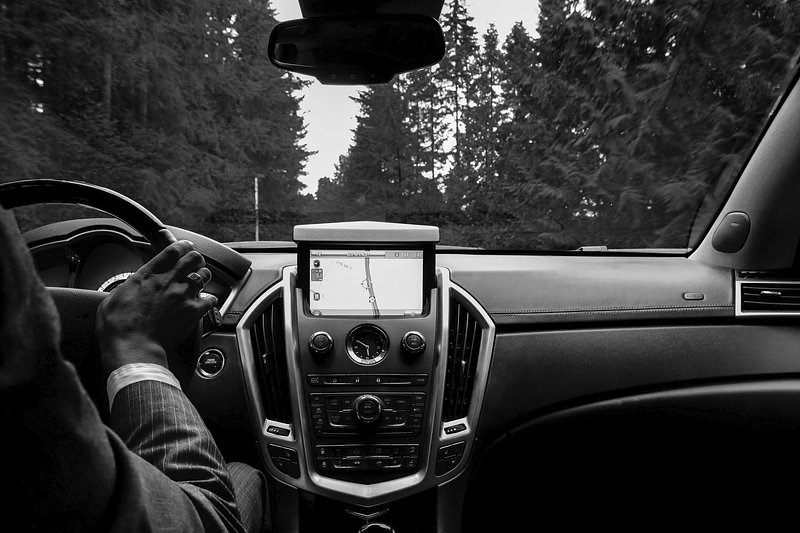
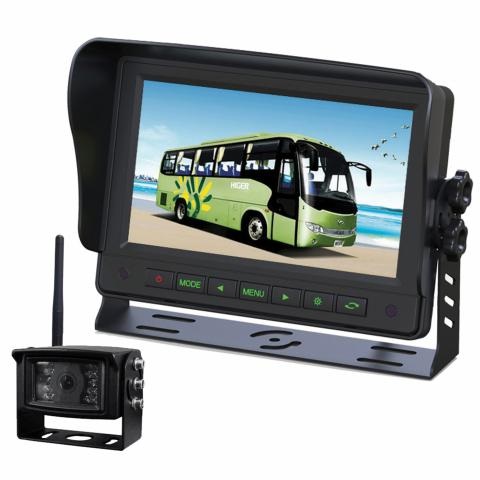
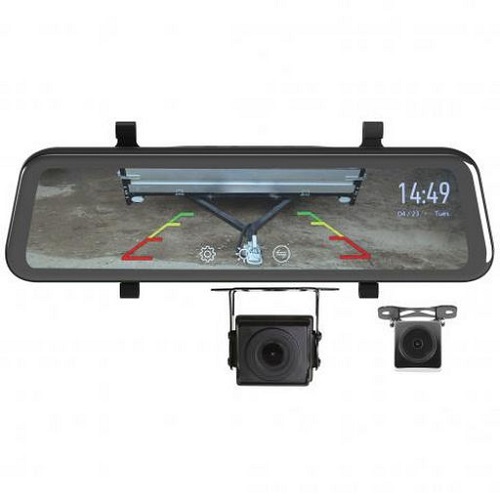
Additionally, check out the display options. Some backup cameras come with a mirror display that clips over your existing rearview mirror, while others require a separate screen. If your dashboard is already crowded with gadgets, finding space for an additional monitor could be tricky.
Lastly, factor in the transmission method. Wireless systems offer easier installation but can be subject to interference, whereas wired systems are more reliable but require more extensive setup. Assess your skill level and decide which option you’re most comfortable with.
Choosing the Right System
Once you’ve confirmed your vehicle’s compatibility, it’s time to choose a backup camera system that best suits your needs and budget. Start with the display type.
You can opt for a system that integrates with your existing in-dash screen, if you have one, or you can go for a standalone monitor. The latter might be simpler to install, but it could take up additional space in your cabin.
Next, consider the camera itself. Look for a model with a wide viewing angle to give you a comprehensive view of what’s behind you. Night vision is also crucial for low-light situations, so check for infrared or low-light capabilities.
You’ll also want to decide on a wired or wireless system. Wireless systems are typically easier to install since you won’t need to run a cable from the camera to the monitor. However, they can be more prone to interference. Wired systems, while more labor-intensive to install, often provide a more reliable connection.
Lastly, check the system’s IP rating for water and dust resistance, especially if you live in a harsh climate. A higher IP rating means better protection against the elements, ensuring your backup camera works well when you need it most.
Step-by-Step Installation Guide
After choosing the right backup camera system for your vehicle, you’ll need to gather the necessary tools and prepare for installation. Ensure you have a drill, screwdriver, electrical tape, and possibly some connectors, depending on your camera model.
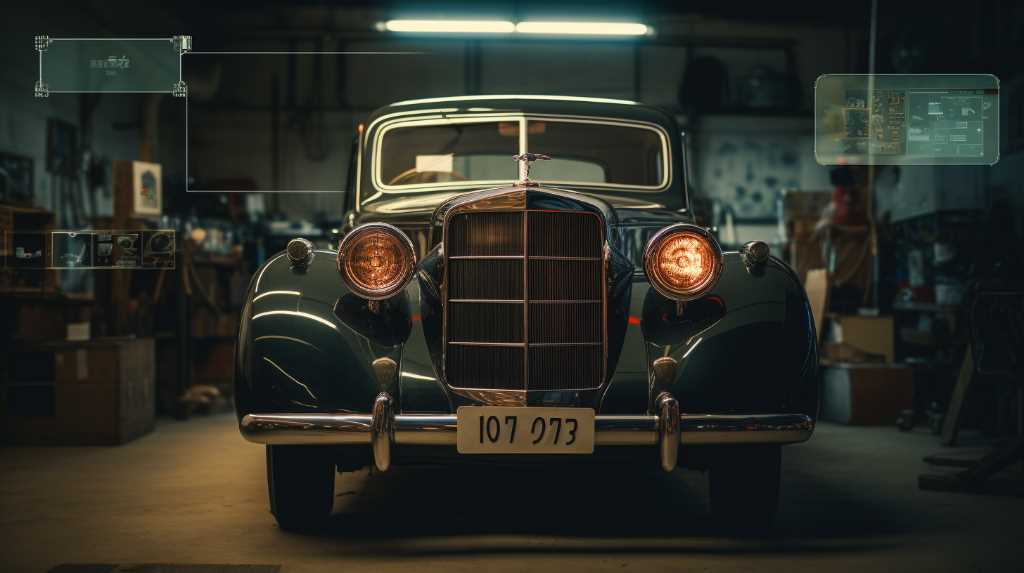
Firstly, determine the best position for the camera on your vehicle’s rear. Most drivers opt for the license plate area as it provides a clear, central view. Attach the camera securely, following the instructions provided. If drilling is required, measure twice and drill once to avoid any mistakes.
Next, route the camera’s power and video cables from the back of your vehicle to the front. You’ll likely need to remove some interior panels or weather stripping to conceal the wires properly. Be careful not to damage any existing wiring.
Now, connect the video cable to the monitor in the front. If it’s a mirror monitor, attach it over the existing rearview mirror or follow the installation guide for dashboard monitors. Connect the power wire to your vehicle’s reverse light power cable so the camera activates when you shift into reverse.
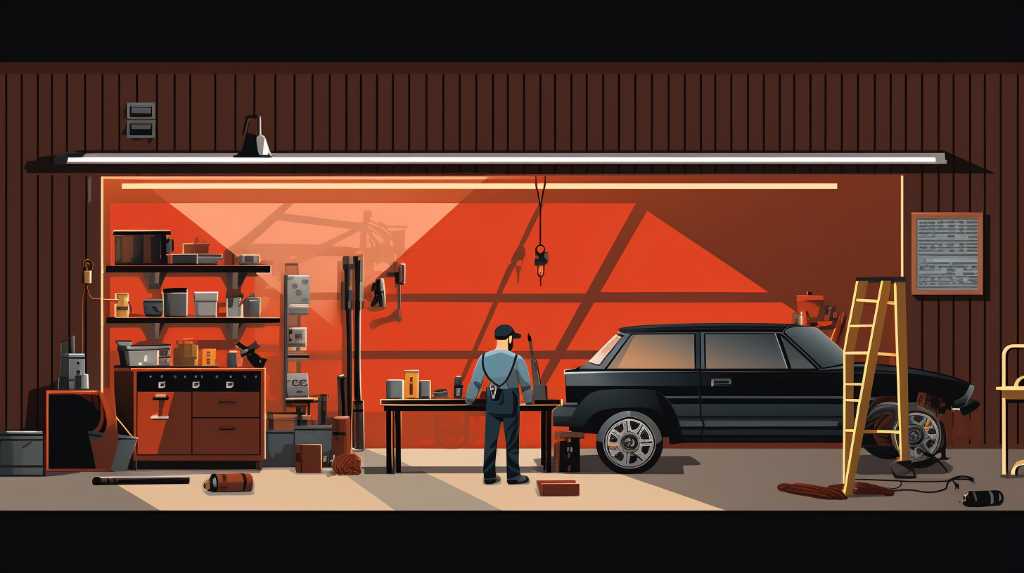
DIY Installation Tips
To ensure your backup camera functions flawlessly, adhere to these DIY installation tips as you embark on the process. Begin by choosing a camera and monitor that are compatible with your vehicle. Check reviews and make sure you’ve got a model that’s known for reliability and clear visuals.
You’ll want to gather all necessary tools before you start. This typically includes a drill, screwdrivers, electrical tape, and possibly a soldering iron. Make sure you’re familiar with your vehicle’s wiring diagram – you can usually find this in your owner’s manual or online.
Carefully plan the camera’s placement. It’s crucial to mount it where it won’t be obstructed and where it provides the widest possible view. Many opt for the license plate area since it’s central and high enough to avoid most obstacles.
When it comes to wiring, take your time and double-check each connection. It’s better to be methodical than to rush and make mistakes. Use proper crimping tools and heat-shrink tubing to protect the connections from the elements.
Lastly, test everything before fully reassembling any interior panels you’d to remove. It’s easier to troubleshoot when everything is still exposed. With careful attention to these details, you’ll have a backup camera that not only enhances safety but also adds value to your vehicle.
Opting for Professional Installation
Consider hiring a professional installer if you’re not confident in tackling the backup camera installation yourself. It’s a surefire way to ensure the job’s done right the first time. You won’t have to worry about deciphering complex wiring diagrams or drilling into your car’s exterior incorrectly. Plus, professionals often guarantee their work, giving you peace of mind.
A pro can advise you on the best camera for your vehicle and will have the right tools and expertise to integrate the system seamlessly. They’ll take care of the entire process, from mounting the camera to wiring it to your display. This means you won’t have to spend hours researching or risk damaging your car with trial and error.
The cost may be higher than a DIY project, but you’re paying for reliability and expertise. You’ll avoid potential long-term costs from mistakes that could require additional repairs. Remember, a backup camera is about safety, and a professional install is an investment in both your vehicle’s functionality and your peace of mind.
Don’t hesitate to ask for quotes and read reviews to find a trusted technician who can perform this upgrade for you.
Maintenance and Care Tips
Now that you’ve installed a backup camera in your older vehicle, keeping it in top shape is crucial. You’ll need to regularly clean the lens for a clear view and check the wiring to prevent any electrical issues. Also, make sure you’re on top of any software updates that can improve the system’s performance.
Regular Camera Cleaning
For optimal performance, you’ll need to regularly clean your backup camera’s lens to maintain clear visibility. Road grime, dust, and weather conditions can all obscure your camera’s view. Make it a habit to wipe the lens gently with a soft, microfiber cloth whenever you wash your car. Avoid harsh chemicals that might damage the lens coating; instead, use a mild, soapy solution if necessary.
Wiring Inspections
After ensuring your backup camera’s lens is clean, it’s important to periodically check the wiring connections for signs of wear or corrosion to prevent signal loss or electrical issues.
You’ll want to carefully inspect where the wires connect to the camera and your vehicle’s power source. Look for any exposed or frayed wires, as these can be hazards.
Ensure all connections are snug and secure; loose wires can lead to intermittent camera function. If you spot any corrosion on the connectors, gently clean them with a wire brush or contact cleaner.
Remember to disconnect the battery before doing any electrical work to avoid short circuits. Regular checks and maintenance can save you from future headaches and keep your backup camera system functioning reliably.
System Update Checks
Beyond regular wiring inspections, you’ll need to check for firmware updates to ensure your backup camera’s software is up to date. Most manufacturers release updates to fix bugs or improve performance. You can usually find these on the company’s website under a support or download section.
It’s essential to follow their specific instructions for updating the system; this might involve downloading the update to a USB drive and then uploading it to your vehicle’s camera system. Remember, failing to keep the firmware updated could lead to compatibility issues or even security vulnerabilities. Set a reminder to check for updates every few months. Staying on top of this will help maintain your backup camera’s functionality and reliability.
Frequently Asked Questions
How Do Weather Conditions Affect the Performance of Aftermarket Backup Cameras?
Weather conditions can impair your backup camera’s performance, causing fogging, glare, or obstructions from snow and rain, which reduces visibility and makes it harder for you to see what’s behind you.
Can Integrating a New Backup Camera System Void My Vehicle’s Warranty?
You’re safe; adding a backup camera generally won’t void your vehicle’s warranty, as long as the installation doesn’t damage existing systems or involve cutting into wiring or the vehicle’s structure.
Are There Any Legal or Insurance Implications to Consider When Retrofitting a Backup Camera?
You should check with your insurance provider and local traffic laws, as modifications can affect your policy and compliance with road safety regulations. Always ensure professional installation to avoid legal issues.
How Does the Addition of a Backup Camera Impact the Resale Value of an Older Vehicle?
Adding a backup camera can increase your car’s resale value by modernizing it and appealing to safety-conscious buyers. You’ll likely fetch a higher price than similar models without this upgrade.
Can a Backup Camera System Be Transferred to Another Vehicle if I Decide to Sell My Current Car?
Yes, you can transfer a backup camera system to another car when selling yours, but ensure compatibility and a professional reinstall to avoid damage and maintain system functionality in the new vehicle.
Conclusion
Now that you’ve chosen and installed your backup camera, enjoy the enhanced safety and convenience it brings to your older vehicle. Remember to keep it clean and check its functionality regularly. If you ever hit a snag, don’t hesitate to consult a professional. Happy reversing, and here’s to safer parking with your new set of digital eyes!
Related Articles
Be sure to also check out these articles right here at Motion Performance Motorsports
The Complete Buyers Guide for Backup Cameras
Next Backup Camera Article: Installing Wireless Vehicle Safety Cameras: A How-To
Previous backup Camera Article: Seamless Smartphone Integration for Reverse Parking Cameras

Hey there, I’m Terra Frank, the driving force behind Motion Performance Motor Sports. I’m thrilled to have you here, exploring the fascinating world of cars, trucks, and everything related to automotive performance and accessories.