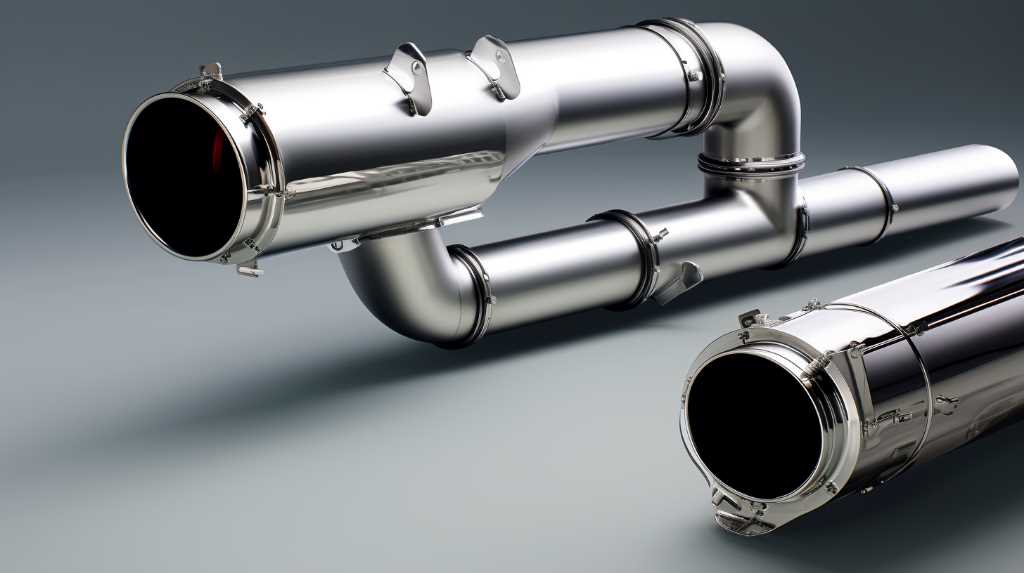
You’re ready to take your car’s performance to the next level. In this article, we’ll show you how to install a performance exhaust system right in your own garage. By following these step-by-step instructions, you’ll be able to upgrade your vehicle’s exhaust system and enjoy the benefits of improved horsepower and a more aggressive sound. So grab your tools and let’s get started on this exciting DIY project.
Key Takeaways
- Consider your vehicle’s specific performance needs and choose an exhaust system tailored to those needs.
- Gather the necessary tools and materials, including a wrench or socket set, torque wrench, jack and jack stands, hacksaw, pry bar, rubber mallet, new performance exhaust system, and penetrating oil.
- Prepare the vehicle for installation by parking on a level surface, disconnecting the negative terminal of the battery, using jack stands and a hydraulic jack for support, and ensuring a stable and safe working environment.
- Remove the old exhaust system by spraying penetrating oil on the nuts and bolts, using a socket set and wrench to remove bolts, disconnecting the exhaust pipes, loosening clamps, and removing hangers or supports.
Selecting the Right Performance Exhaust System

You should consider your vehicle’s specific performance needs when selecting the right performance exhaust system. The performance exhaust system plays a crucial role in enhancing your vehicle’s overall performance and efficiency. Different vehicles have different requirements, so it’s important to choose an exhaust system that’s tailored to your vehicle’s needs.
One factor to consider is the type of driving you do. If you frequently engage in high-speed driving or participate in racing events, you may want to opt for a performance exhaust system that’s designed to maximize horsepower and torque. On the other hand, if you mainly use your vehicle for daily commuting, a performance exhaust system that prioritizes fuel efficiency and noise reduction may be more suitable.
Another consideration is the material of the exhaust system. Performance exhaust systems are typically made of stainless steel or titanium. Stainless steel is a popular choice due to its durability and corrosion resistance, while titanium is known for its lightweight nature and high strength-to-weight ratio.
Lastly, think about the sound you want your vehicle to produce. Performance exhaust systems come in a variety of sound levels, ranging from mild to aggressive. If you prefer a quieter ride, you may want to choose an exhaust system with a milder sound profile. However, if you enjoy a more aggressive and throaty exhaust note, an exhaust system with a louder sound may be the right choice for you.
Gathering the Necessary Tools and Materials

To successfully install a performance exhaust system at home, you’ll need a few essential tools and materials. Before you begin the installation process, it’s important to gather everything you’ll need to ensure a smooth and efficient installation.
The first tool you’ll need is a wrench or socket set, as you’ll be removing and tightening bolts throughout the installation process. It’s also recommended to have a torque wrench to ensure that the bolts are tightened to the correct specifications.
Additionally, you’ll need a jack and jack stands to raise and support your vehicle securely. This will provide you with enough clearance to remove the old exhaust system and install the new one. Other necessary tools include a hacksaw or reciprocating saw to cut the old exhaust system if needed, a pry bar to help remove stubborn parts, and a rubber mallet for tapping pieces into place.
As for materials, you’ll need a new performance exhaust system, which should come with all the necessary components such as the muffler, pipes, and clamps. It’s also recommended to have some penetrating oil on hand to help loosen any rusted or stuck bolts.
Preparing the Vehicle for Installation

Before beginning the installation process, gather all the necessary tools and materials to prepare your vehicle for installation. Properly preparing your vehicle is essential to ensure a smooth and successful installation of your performance exhaust system.
First, you should make sure to park your vehicle on a level surface, such as your driveway or garage. This will provide a stable and safe working environment. Next, it’s important to disconnect the negative terminal of your vehicle’s battery to avoid any electrical mishaps during the installation.
Additionally, you should gather a set of jack stands and a hydraulic jack to safely lift and support your vehicle. These tools will allow you to access the underside of your vehicle with ease. Lastly, be sure to have a good quality penetrating oil on hand. This will help loosen any rusted or stubborn bolts that may need to be removed during the installation process.
Removing the Old Exhaust System
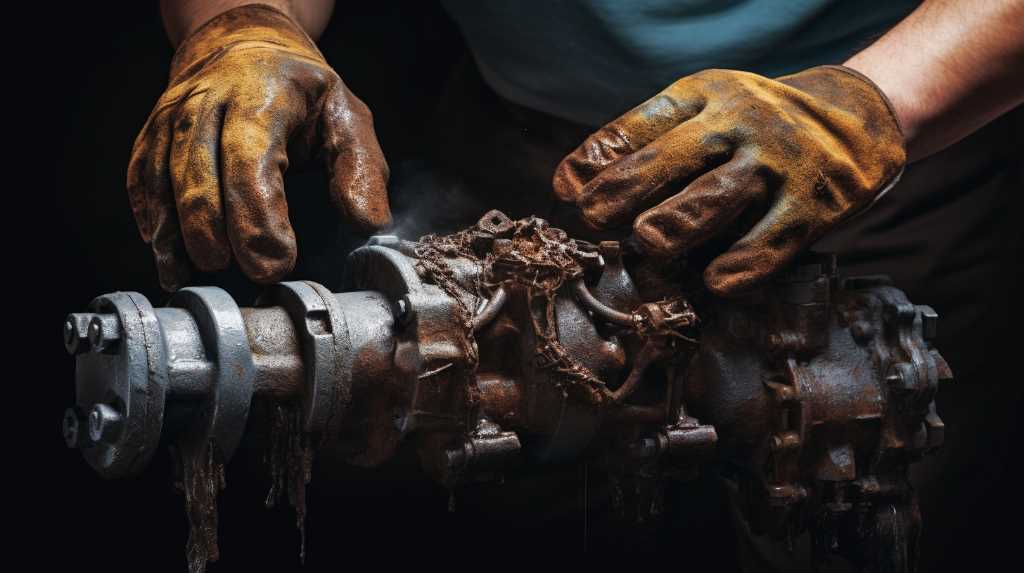
First, gather the necessary tools and materials, including a socket set, wrench, and penetrating oil, to remove the old exhaust system. These tools will be essential in loosening and disconnecting the various components of the exhaust system. Begin by spraying the penetrating oil on the nuts and bolts of the exhaust system, as this will help to loosen any rust or corrosion that may have built up over time.
Using the socket set and wrench, start by removing the bolts that connect the exhaust manifold to the rest of the system. These bolts are typically located at the front of the engine and can be accessed from underneath the vehicle. Once these bolts are removed, you can then move on to disconnecting the exhaust pipes from the muffler and catalytic converter.
To disconnect the pipes, use the socket set and wrench to loosen the clamps that hold them in place. Once the clamps are loosened, you should be able to slide the pipes out of the muffler and catalytic converter. Finally, remove any remaining hangers or supports that are holding the exhaust system in place.
With the old exhaust system removed, you’re now ready to move on to the next step of installing your new performance exhaust system.
Installing the New Performance Exhaust System
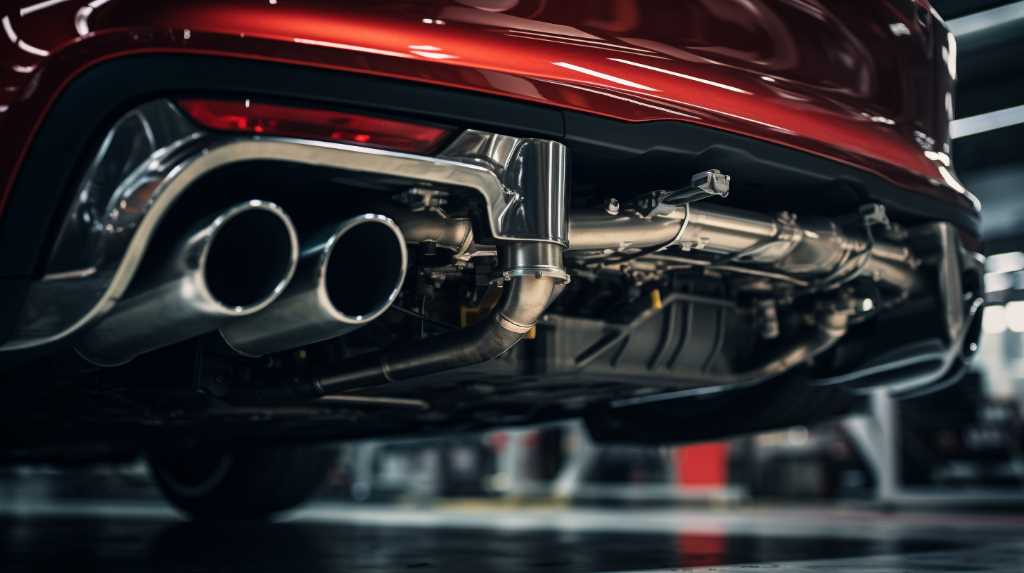
Now that you’ve successfully removed the old exhaust system, it’s time to move on to installing the new performance exhaust system. Before you begin, gather all the necessary tools for the installation process.
With the right tools at hand, you can now follow the step-by-step instructions to ensure a smooth and efficient installation of your new performance exhaust system.
Tools Needed for Installation
You’ll need a wrench to tighten the bolts on the new performance exhaust system. In addition to the wrench, there are a few other tools that will come in handy during the installation process. A socket set is essential for removing and installing bolts and nuts. Make sure to have both standard and metric sizes to accommodate different parts of the exhaust system. A ratchet will make it easier to loosen and tighten bolts, especially in tight spaces.
It’s also a good idea to have a torque wrench to ensure that the bolts are tightened to the correct specifications. A pry bar or a rubber mallet can be used to help remove any stubborn parts. Finally, a jack and jack stands are necessary for safely elevating the vehicle during the installation process. With these tools on hand, you’ll be well-equipped to install your new performance exhaust system.
Step-By-Step Installation Process
To begin the installation process, start by carefully removing the old exhaust system from your vehicle with the necessary tools. Make sure you have a wrench, socket set, and jack stands handy. First, locate the bolts and clamps that hold the old exhaust system in place. Loosen and remove them one by one, starting from the front and working your way back.
Once all the bolts and clamps are removed, gently lower the old exhaust system and set it aside. Next, take the new performance exhaust system and align it with the mounting points on your vehicle. Attach the new system using the provided bolts and clamps, making sure they’re securely tightened.
Connecting the Exhaust Components
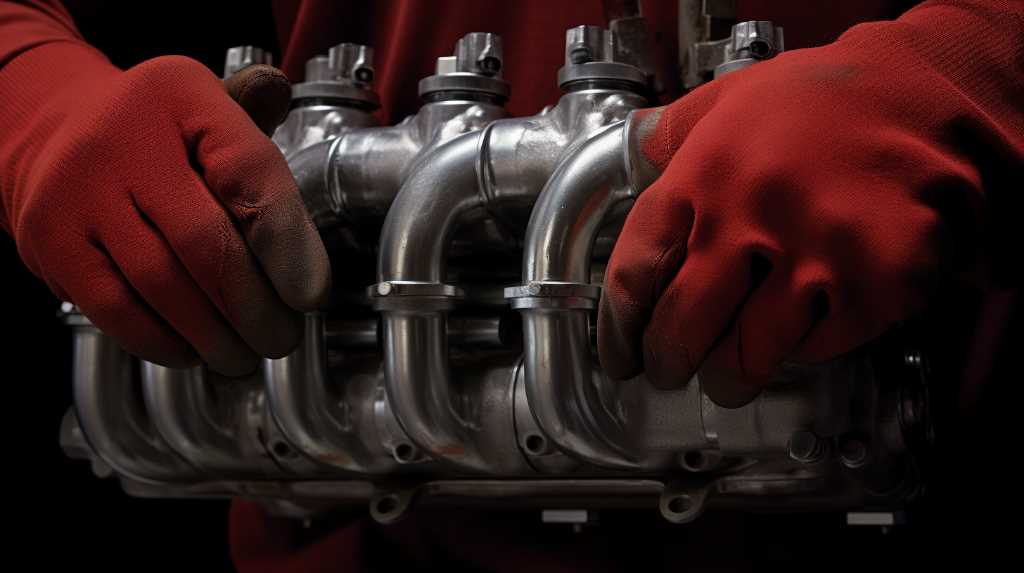
Once you have gathered all the necessary tools and materials, it’s time to start connecting the exhaust components. This step is crucial in ensuring that the exhaust system functions properly and efficiently. Begin by placing the exhaust gaskets between the exhaust manifold and the header pipes. Make sure they’re aligned properly to prevent any leaks.
Next, attach the header pipes to the manifold using the provided bolts and tighten them securely. It’s essential to ensure a tight connection to prevent any exhaust leaks. Once the header pipes are connected, move on to attaching the intermediate pipes. These pipes connect the header pipes to the muffler. Use clamps or welding to secure the connections. It’s important to check for any gaps or misalignment and adjust as necessary.
Finally, connect the tailpipe to the muffler using clamps or welding. Double-check all connections to ensure they’re secure and tight. Once all the components are connected, start the engine to test for any leaks or abnormal sounds. If everything is in order, congratulations! You have successfully connected the exhaust components.
Securing and Adjusting the Performance Exhaust System
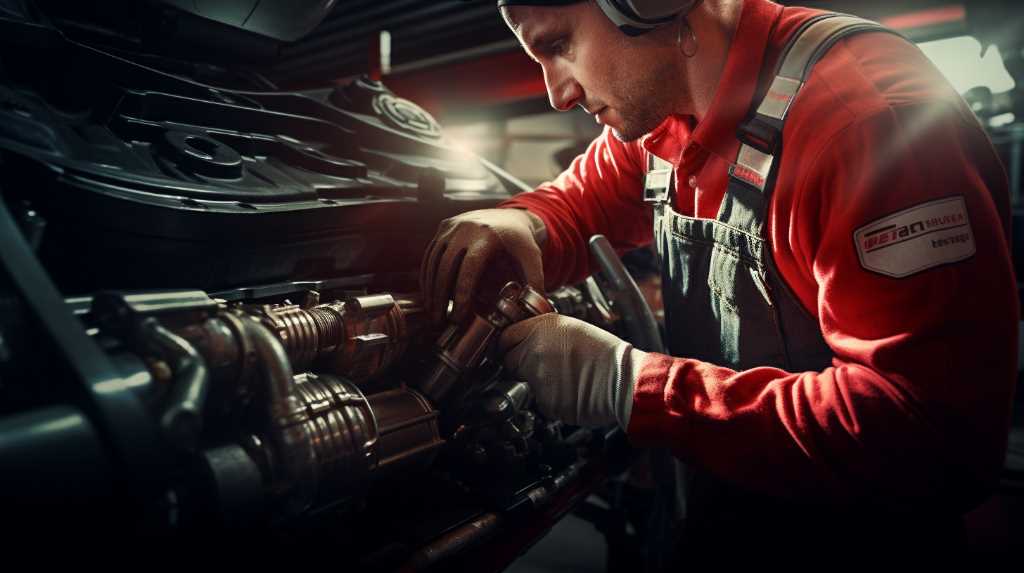
Make sure you securely tighten and regularly inspect the connections of your performance exhaust system to ensure optimal performance.
After installing the exhaust components, it’s important to ensure that they’re properly secured and adjusted. Start by double-checking all the connections and make sure they’re tightened securely. Loose connections can result in exhaust leaks, which not only reduce the performance of your vehicle but can also be hazardous. Use a wrench or socket to tighten the bolts or clamps, ensuring that they’re snug but not overtightened.
Once you have secured the connections, it’s crucial to regularly inspect them for any signs of wear or damage. Over time, the vibrations and heat generated by your vehicle can cause the exhaust system to loosen. Inspect the connections for any signs of rust, corrosion, or looseness. If you notice any issues, such as loose bolts or damaged gaskets, address them immediately.
Another aspect to consider is adjusting the performance exhaust system to your liking. Some systems come with adjustable components, such as mufflers or exhaust tips, which allow you to customize the sound and performance of your vehicle. Follow the manufacturer’s instructions to make any necessary adjustments. Remember to test your vehicle after making adjustments to ensure that everything is functioning properly.
Testing and Fine-tuning the Installed Performance Exhaust System
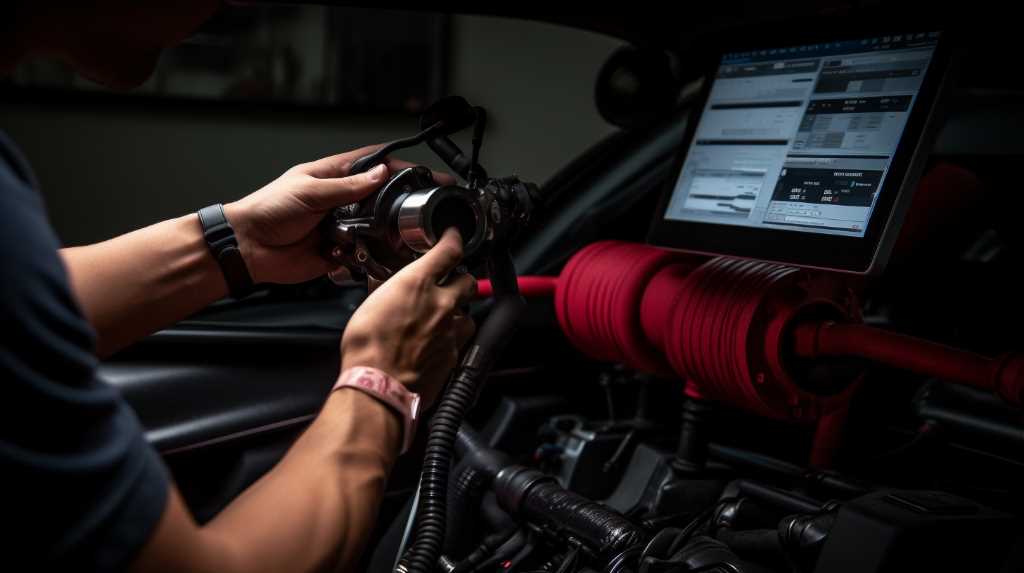
Now that you’ve successfully installed your performance exhaust system, it’s time to test and fine-tune it for optimal sound and performance. Start by listening to the exhaust note and making any necessary adjustments to achieve the desired sound.
Next, you can adjust the performance settings to enhance the overall power and efficiency of your vehicle. Lastly, troubleshoot any common issues that may arise during the testing process to ensure your exhaust system is functioning properly.
Sound and Performance
To ensure optimal sound and performance, you’ll want to fine-tune your newly installed performance exhaust system. After installing the system, it’s important to test it to make sure it meets your desired sound and performance levels.
Start by taking your car for a drive and paying close attention to the exhaust note. If it’s too loud or not aggressive enough, you may need to adjust the exhaust components. One option is to install different mufflers or resonators to achieve the desired sound.
Additionally, you can experiment with different exhaust tip designs to further enhance the aesthetics and sound of your car. It’s also important to monitor the performance of your vehicle after installing the performance exhaust system. If you notice any issues with power or fuel efficiency, you may need to make further adjustments or consult a professional.
Fine-tuning your performance exhaust system will help you achieve the perfect balance between sound and performance.
Adjusting Performance Settings
Once you have installed the performance exhaust system, you can begin testing and fine-tuning the performance settings to optimize your vehicle’s performance. Start by taking your car for a test drive to get a feel for the changes made by the new exhaust system. Pay attention to the acceleration, throttle response, and overall power output.
If you feel that the performance can be further improved, you may need to adjust the settings. Depending on the type of exhaust system you installed, you may have the option to adjust the air-to-fuel ratio or ignition timing.
It’s recommended to consult the manufacturer’s instructions or seek professional advice before making any adjustments to ensure you don’t damage your vehicle. Fine-tuning the performance settings will help you achieve the best possible performance from your new exhaust system.
Troubleshooting Common Issues
If you encounter any issues with your newly installed performance exhaust system, you can troubleshoot and fine-tune it to ensure optimal performance. One common issue you might face is a loud or excessive noise coming from the exhaust. This could indicate a leak or a loose connection. Start by inspecting the entire system for any visible cracks or gaps. Tighten any loose clamps or bolts and check the gaskets for proper sealing.
Another issue could be decreased power or poor acceleration. This might be caused by a restriction in the exhaust system, such as a clogged catalytic converter or muffler. Check these components for any blockages and clean or replace them if necessary. Additionally, if you notice any abnormal vibrations or rattling, it could be due to loose hangers or brackets. Check and tighten them as needed.
Frequently Asked Questions
What Are the Benefits of Installing a Performance Exhaust System?
Installing a performance exhaust system offers several benefits. It enhances your vehicle’s performance by improving exhaust flow, increasing horsepower, and torque. It also provides a deeper and more aggressive sound, and can even improve fuel efficiency.
How Can I Determine if a Performance Exhaust System Is Compatible With My Vehicle?
First, check your vehicle’s specifications to see if it supports performance exhaust systems. Then, consult with experts or refer to your vehicle’s manual for compatibility information. Don’t forget to consider any modifications required for installation.
Are There Any Special Maintenance Requirements for a Performance Exhaust System?
There are no special maintenance requirements for a performance exhaust system. However, it is important to regularly check for any leaks or damage, and to clean the system to ensure optimal performance.
Can I Install a Performance Exhaust System on My Own Without Any Prior Experience?
Yes, you can install a performance exhaust system on your own without any prior experience. It may require some research and patience, but with the right tools and instructions, it is doable.
Will Installing a Performance Exhaust System Affect My Vehicle’s Warranty?
Installing a performance exhaust system on your own may void your vehicle’s warranty. It’s important to check with your manufacturer or dealership to see if modifications like this are allowed.
Conclusion
Now that you have successfully installed your performance exhaust system, you can enjoy the benefits of improved horsepower and a more aggressive sound. Remember to regularly check and adjust your new system for optimal performance. With the right tools and materials, anyone can tackle this installation at home. So go ahead, rev up your engine and hit the road with your upgraded ride!
Related Articles
Be sure to also check out these articles right here at Motion Performance Motorsports
The Ultimate Guide to Performance Car Exhaust Systems
Next Exhaust Article: The Economics of Performance Exhaust Systems: ROI and Fuel Efficiency
Previous Exhaust Article: High Performance High-Flow Catalytic Converters

Hey there, I’m Terra Frank, the driving force behind Motion Performance Motor Sports. I’m thrilled to have you here, exploring the fascinating world of cars, trucks, and everything related to automotive performance and accessories.
